本文你將會學到
- 建立 function component
- input 呼叫事件變動 state 的資料
- 父子元件使用 props 傳遞函式
- 在JSX中加入判斷式
- 在元件中內嵌style樣式
- 使用 map 將資料動態呈現
專案目標
- 建立一個輸入框在 App 元件中並使用 change listene 來監聽變化並把內容印出來
- 建立一個新的元件(Validation)來接收輸入框的文字
- 在 Validation 元件中判斷文字長度,當小於5輸出“Text too short”反之“Text long enough”
- 建立一個新的元件(Char)並使用內嵌style方式 (=> display: inline-block, padding: 16px, text-align: center, margin: 16px, border: 1px solid)
- 將輸入的字串切成字元並用 map 把 Char 元件一一渲染出來
- 點擊 Char 元件會將此字元從字串中移除
Case1.
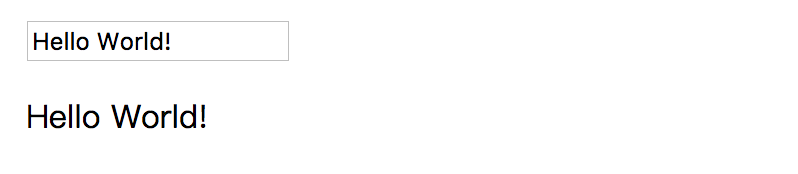
首先在 App 元件中建立一個 input 標籤,並設定一個 onChange 監聽事件看看有無文字輸入裡面呼叫一個 function textChange 將 state 的變數更新改寫,最後再用 p 標籤將 state 的 userInput 變數印出來。
App.js
import React, { Component } from 'react';
import './App.css';

class App extends Component {
  state = {
    userInput: ''
  }
  textChange = (event) => {
    this.setState({ userInput: event.target.value });
  }
  render() {
    return (
      <div className="App">
        <input type="text" onChange={this.textChange} />
        <p>{this.state.userInput}</p>
      </div>
    );
  }
}
export default App;
Case2.
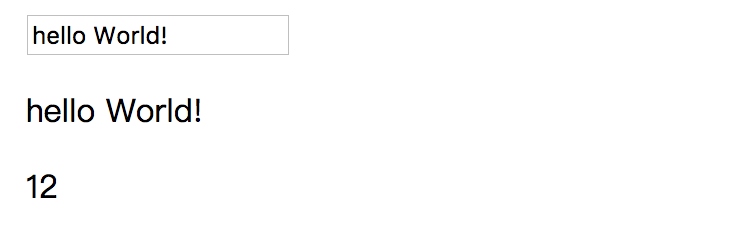
新增一個新元件 Validation 且能夠從 App.js 中接收到文字的長度。
App.js
import Validation from './Validation'
// render()中
<Validation textSize={this.state.userInput.length}/>
Validation.js
import React from 'react';
const Validation = (props) => {
  return (
    <div className="Validation">
      <p>{props.textSize}</p>
    </div>
  )
};
export default Validation;
Case3.
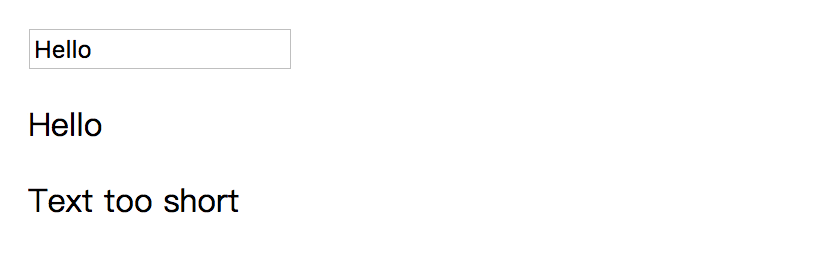
在 Validation 元件中寫一個字數的判斷 if…else ,JavaScript 內容都統一寫在 return 外,並將 JSX 寫在一個變數 validationText 裡面,渲染時直接引用此變數即可。
App.js
未變(略)
Validation.js
import React from 'react';
const Validation = (props) => {
  let validationText;
  if(props.textSize>5)
    validationText = (<p>Text long enough</p>)
  else
    validationText = (<p>Text too short</p>)
  return (
    <div className="Validation">
      {validationText}
    </div>
  )
};
export default Validation;
Case4.
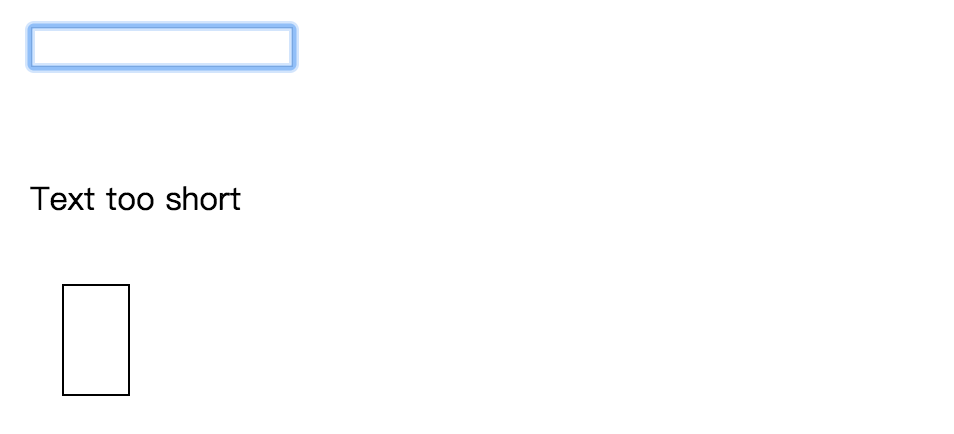
建立一個新的元件 Char 並使用內嵌style方式。
App.js
import Char from './Char'
// render()中
<Char/>
Char.js
import React from 'react';
const Char = (props) => {
  const style = {
    display: 'inline-block',
    padding: '16px',
    textAlign: 'center',
    margin: '16px',
    border: '1px solid'
  };
  return (
    <div className="Char" style={style}>

    </div>
  )
};
export default Char;
Case5.
這一階段要做的事將樹入的字串用 split 切開成陣列,再使用 map 將每個字元渲染出來,其中使用 props 將字元傳給子元件,其中 key 值也要寫進去。
App.js
import Char from './Char'
// render()中
{
  this.state.userInput.split('').map((ch,index)=>{
    return <Char character={ch} key={index}/>
  })
}
Char.js
...略
const Char = (props) => {
  return (
    <div className="Char" style={style}>
      {props.character}
    </div>
  )
};
export default Char;
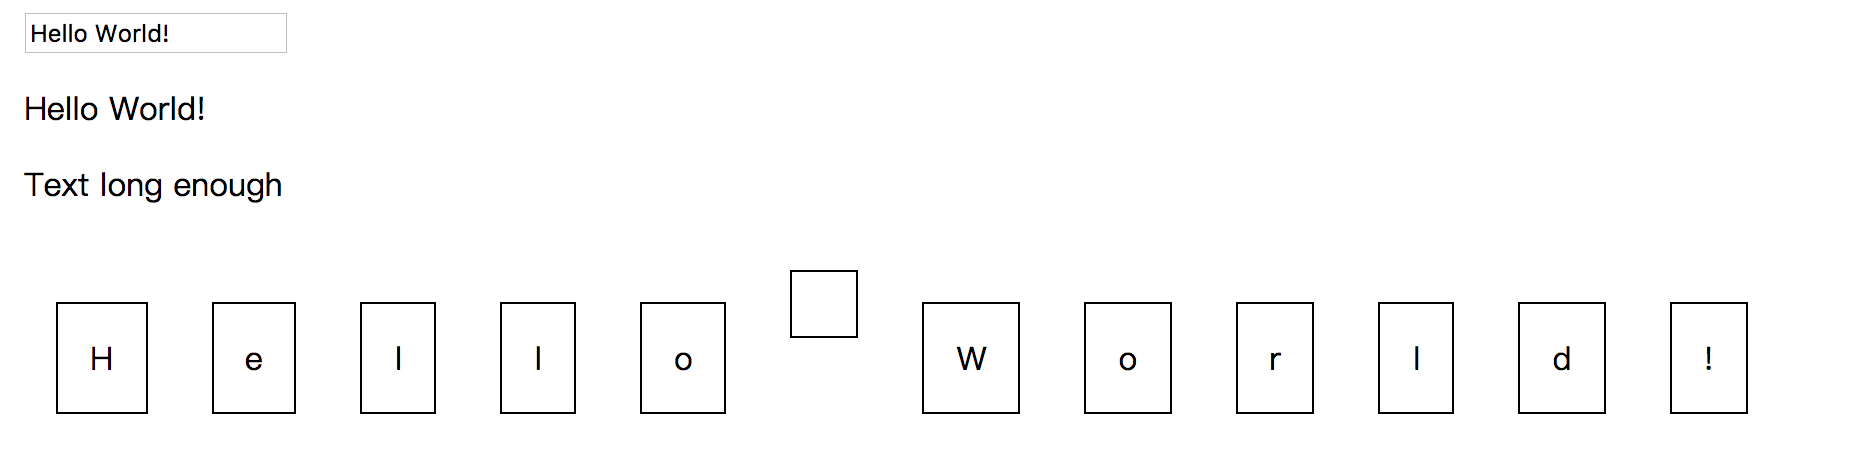
Case6.
這裡要做的是點擊 Char 元件會將該字元從字串移除,所以我們在 App.js 中新增一個 function 做點擊事件呼叫,在此函式中我們要先將字串 userInput 做 split(‘’) 切割,在使用 splice(index,1) 將指定位置的字元從陣列中移除,最後再將此字元陣列 text 用 join('') 轉為一般字串,再修改 state 中的 userInput。
App.js
deleteChar = (index) => {
  const text = this.state.userInput.split('');
  text.splice(index,1);
  const updatedText = text.join('');
  this.setState({ userInput: updatedText});
}
// render()中
{
  this.state.userInput.split('').map((ch, index) => {
    return <Char
      character={ch}
      key={index}
      click={() => this.deleteChar(index)} />
  })
}
版主10在2020年首次開設YouTube頻道,嘗試拍攝程式教學。想要了解更多的朋友歡迎關注我的頻道,您的訂閱就是最大的支持~如果想學其他什麼內容也歡迎許願XD
 https://www.youtube.com/channel/UCSNPCGvMYEV-yIXAVt3FA5A
https://www.youtube.com/channel/UCSNPCGvMYEV-yIXAVt3FA5A